
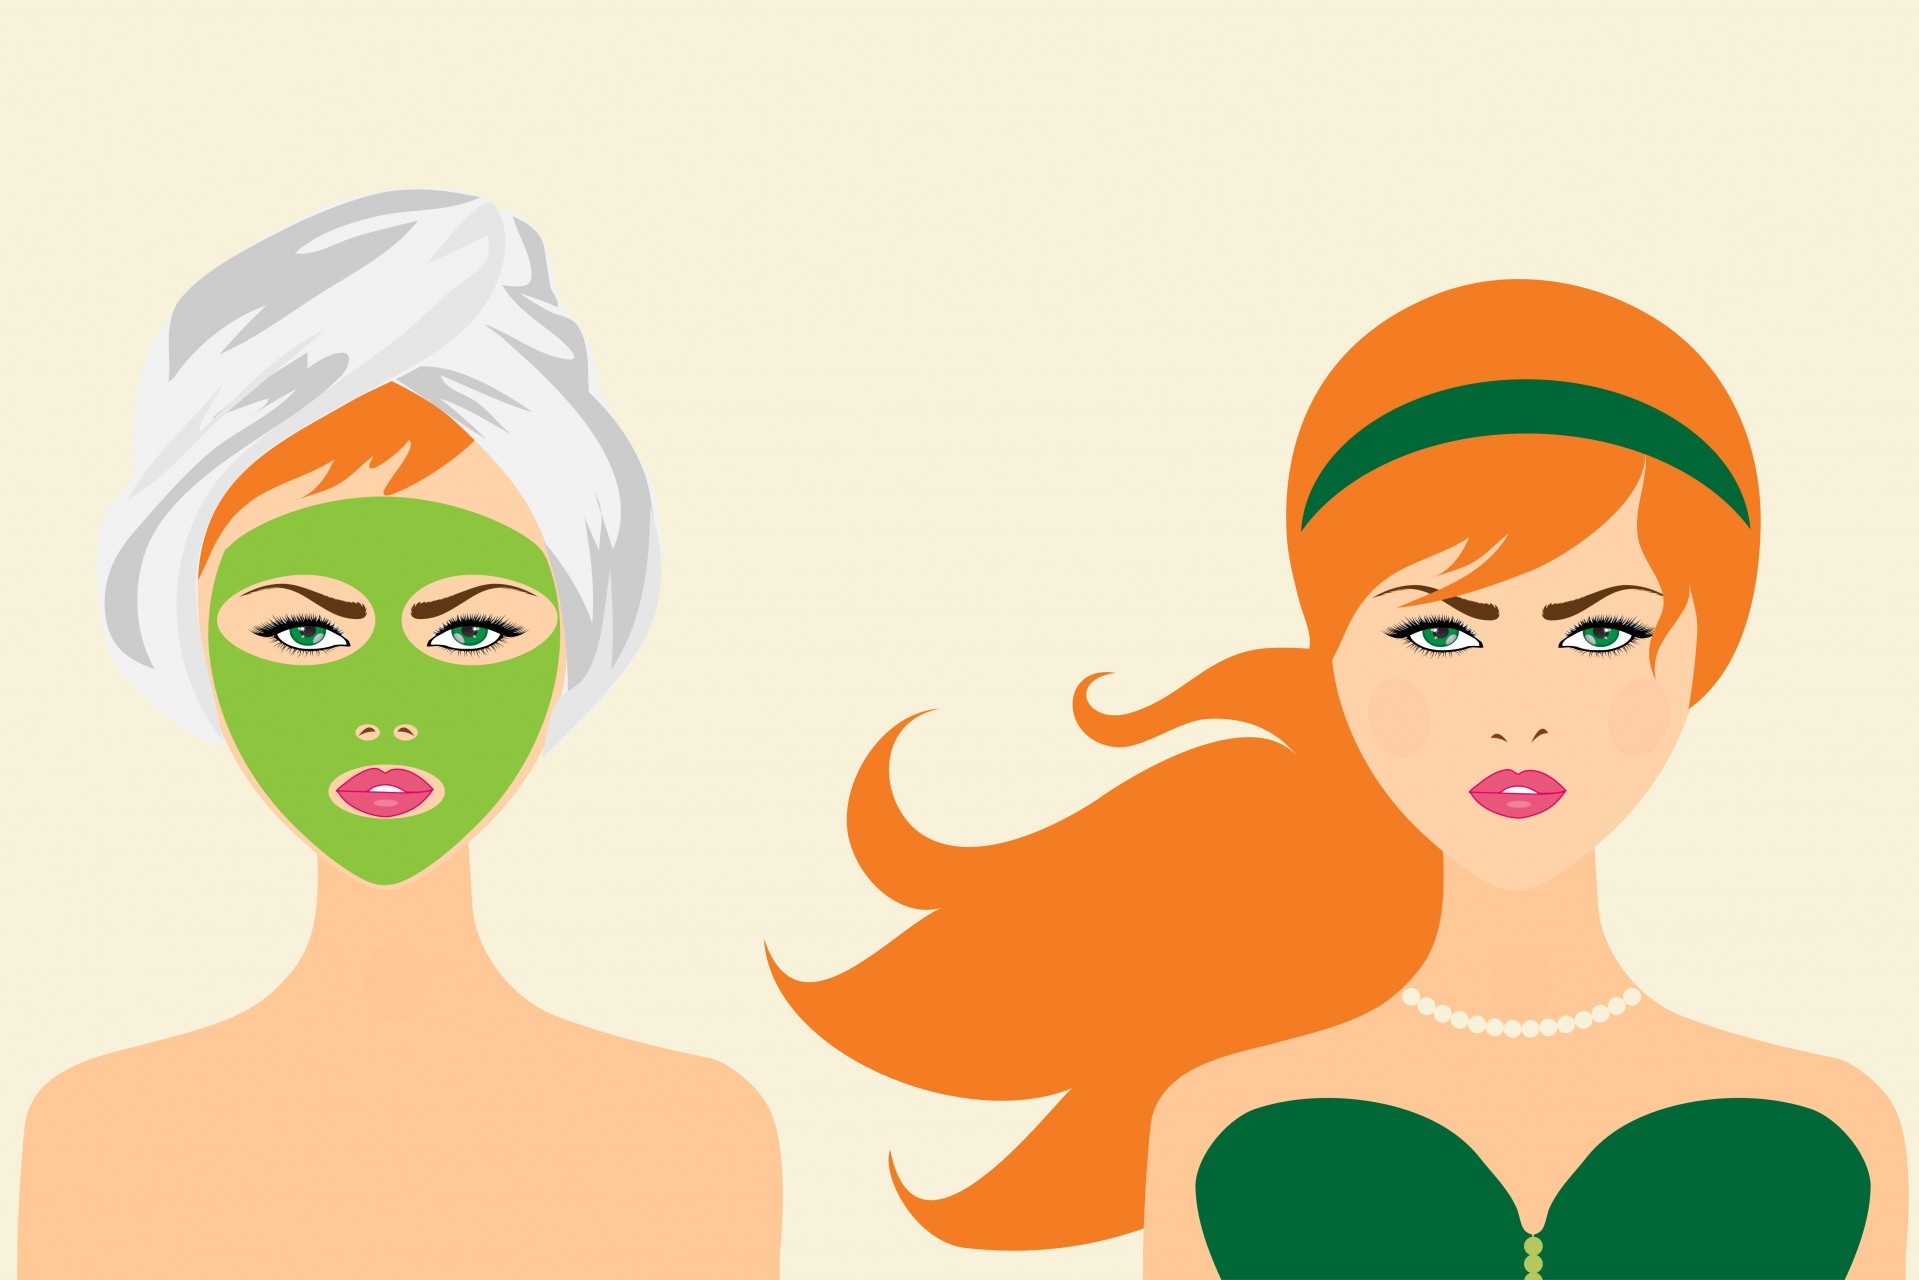
A facial is one of the significant skincare regimes that hold great importance in offering a radiant glow to the skin. Its main task is to revitalize the skin from the damage suffered from the exposure of the sun and the pollution. On the whole, it imparts in creating the new cells that will lead to fresh skin every time. Therefore, today let’s get some detailed ideas on the benefits of doing a facial at home. Also, we will add some insight into the different types of facial at home and also elaborate the facial steps elaborately so that beginners can practice that with ease.
Table of Contents
Various underlined benefits of doing a facial at home
It is true that salon facials are pricey, but you can never overlook the idea facial at home also does come with its own set of benefits. Therefore it is time to explore each one of its privileges at length in the below bullets points.
Releases toxins from the face
The very first step of the facial is profound cleansing. No matter whether you are at home or outside you know well that impurities do build up in your face. Starting with the exfoliation known as microdermabrasion, the skin will get clear off the dead cells and the grease. Additionally, it will also unblock the pores as well thus allowing other items to get easily soaked into the skin. On the whole, the skin will reveal a smoother and softer look.
Purifies the skin
Many of you have often seen that blackheads and whiteheads do develop on the top of the nose. Even the area below the lips that is the chin area also needs a proper cleaning session. You can use the extraction tools to pick the blackheads and whiteheads that again assure that the skin should be free of any purities. Therefore, there is no fear of having acne as well.
Slows down the process of aging
With the passing years, you tend to develop wrinkles and lines on the face and the forehead area. However, facials can help you prevent that at once. It is because whenever you message the face with facial massage creams it enhances the movement of the blood in the face. By doing that you are assuring that the facial skin gets more nutrients and oxygen. Moreover, it also speeds up the production of collagen in the skin and firms up the skin elasticity as well. Thus, it reduces the appearance of the wrinkles at once.
Stay relaxed and reduce stress
Remember that stress can actually make your skin look older. Yes, it is one of the primary reasons for the decay of the skin. However, doing facials at home at an interval of 15 days you can seriously prevent that. With the facial message, you ensure that the skin is detoxified. Additionally, also boost up the functioning of the lymphatic vessels as well. Thus, once you are done with the process the skin reflects youthful and fresh skin.
Rejuvenates the skin
Since you, all have to get out of the home, so it is natural that pollution destroys the skin texture and makes it look lifeless. But facials at home can actually combat the problem. Once you do facial, it will help the skin to absorb the moisture and restore that. It is better to resort to the DIY facial ideas instead of getting the chemical-based facials. It is because the chemicals can accentuate the hydration level of the skin but in the long run that won’t turn out much effective.
Detoxifies the skin
If you leave the skin untreated for months, then obviously you will get dry, and flaky skin. Other than that skin has other problems, like rashes, whiteheads, blackheads which can be healed with the facial. Once you rely on doing the facials at home, you will see that the skin gets relieved from all these ailments at once. You should choose ingredients that are rich in antioxidants and such items will deeply detoxify the skin.
Say bye to acne
Skin breakout is a common problem. Now excess production of the sebum thus leads to the problem which is elaborately called the acne. Many of you have this habit of pricking the acnes, which later on leaves a scar mark as well. But doing Facials at home will assure that the skin is freed of the contaminants. In addition to that, the moisture level of the skin is restored as well. In fact, you will see that the acne will tend to dry and after a span of a few days, it will simply disappear. Apart from that, there are some of the specialized facial ingredients, which work too deeply to remove the scar marks as well.
Firms up the skin
Sagging skin with no elasticity simply dulls out the appeal of the skin. However, once you start doing the facial at home you can significantly observe the difference at once. Production of collagen is vital to ensure that the skin stays firm. Thus it will also enhance the production of the collagen, hence will minimize the stress signs and the skin will become tighter.
No under-eye dark circles
Once you touch the skin just in and around the eye area, you will see that it is utterly delicate and soft. The tender under-eye skin needs more care. You need to pamper and take care of the skin. Basically, some of the issues like crow’s feet, dark circles, eye bags often pop up. But the thing is that you try to reduce those with the help of chemically prepared under eye creams. Instead, of doing that, you can opt for doing under-eye facials at home with a gentle hand.
Skin tone gets evened
Complexion problem is common especially when you see that your skin tone looks uneven. Therefore if you want the skin to get back to its original skin tone, you need to assure that the dark spots and marks are wiped off from the skin. Therefore doing facials at home with some of the kitchen ingredients like lemon, gram four you can actually get back the lost skin tone at once.
Steps of doing a facial at home
Are you ready to experience, a smooth and blushing skin? If yes, then you should get ready to have a deep cleaning facial at home.
Step 1: Wash your face and remove makeup
Wash the face with lukewarm water. Just sprinkle the water on the face and pat dry.
Step 2 Follow the deep cleansing of the face
The second step is that you should start by cleansing your face. For that make sure that you take something from the kitchen itself instead of using any packaged cleanser. The best would be if you use the concoction of milk and slight water. It is because milk consists of lactic acid which is known to add a glow to the skin. But if you want you can even use the oil-based natural cleanser as well. Do you know that oil-based cleansers work outstandingly on the skin? For that just you can stick to coconut oil, olive oil, or the jojoba oil. It not only removes the makeup but also nourishes the skin from deep within. Therefore this is the all-time recommended way to get rid of makeup without damaging the skin.
Step 3: Steaming the face
Once you are ready to start the facial just get ready to take the steam. For that take a container filled with hot water, and covers the face with a towel. Once prepared get ready to take the vapor. The steam is essential among all the facial processes because it helps to unclog the pores and makes the skin breathe properly. Additionally, it also helps to release the toxic elements from the skin and allows the skin to grasp all the facial goodness that you are going to get from the farther steps.
Step 4. Exfoliate the skin with natural scrubber
As you know that dead skin develops on the top of the skin. And that surely fades the glow of the skin. Therefore to get that glow back you have to exfoliate and this is the third step precisely. Make sure that you use something, which is mild and equally penetrates deep into the skin.
In order to make the natural scrub, you can add items like one teaspoon of milk, honey, and sugar. Else you can add oatmeal, coconut oil, and honey. Besides that grounded almonds with water also acts perfectly for the skin. Once you are done with just wash off the face by dipping the towel in lukewarm water.
Step 5: Facial massage at home
Honestly, before starting with the facial message make sure that you use the hand strokes properly. Though not always possible to perform like that of the salon professionals.
But yes you can do so by using the fingers and do so very delicately. You should follow the clockwise and anticlockwise movement of the fingers. This will ensure that each and every corner of the face receives equal attention.
You should start from the forehead and then gently move down to the temples of the cheek. Now focus on the cheeks and nose areas. Once done you should remember to add the jawline, chin, and lips in the message schedule
In order to do the facial massage at home, you can add items like banana, honey, and olive oil. Honestly, you can instantly prepare this fondest DIY facial massage cream at home. But you may think why should you use this preparation for the facial message?
In that case, note that Vitamin A enriched banana helps to keep the skin nourished from within. Apart from that, honey is also good for the skin as it gives protection from bacteria and acne.
On the other hand, olive oil is also known for its moisturizing effect. Therefore, altogether these elements will leave a beautiful sheen on the face once done.
Step 6: Add a suitable face pack
Face pack means you are ready to feed your skin. Additionally, the boost will make the skin look youthful, radiant, and healthier. Face packs are necessary to protect the skin from premature aging as well. Once you are, doing the facial at home you can actually modify the face pack as per your skin type and requirement.
For the oily skin, you can go for the sandalwood and honey mask. Combination skin recipients can try curd and honey pack. For Dry skin recipients, honey and milk mask is best. But the good news about the normal skin is that they can actually try any type of the masks as all of that works quite well on the skin.
Well once you prepare the mask, just apply it on the face for a period of 15 minutes then wash off the face with regular water.
Step 7: Add a toner
Finally, you are on the step to wrap the facial at home. As you complete all the above steps now should add toner to the face. Toner actually adds a protective shield to the skin. Additionally, toner makes the skin look firm. Now the question is what type of DIY toner should you use for the skin. In that case, you can use the cucumber and lemon juice toner. For that, you have to take the watermelon or apple cedar vinegar. Even you can apply the rose water as well.
Step 8: Moisturise the skin
Finally, you have reached the last step of the facial at home. Now you should get ready to apply the moisturizer. You can use any regular moisturizer or any homemade.
Conclusion
In the final take, we would like to say that the steps that we mentioned before are necessary for having a well-toned glossy skin. Follow the facial at the home routine at a span of 15 days for an excellent result. You should try to do DIY facial at home rather than using any kind of chemically formulated products.